I am Big fan of testing Citrix Products on my Laptop.
I will be installing all the XenApp
Roles on this server, so make about Server Name as I will be installing License
server role on this server.
Please refer my blog to download
XenApp Evaluation license server file.
Create Virtual Machine windows 2008 R2
Sp1 (Workgroup).
Map
Xenapp6.5 ISO on VM
Click
on Autorun
Click
on Install ”XenApp Server”
Click on “ Add Server roles”
I installed “Enterprise Edition”
Select “License Agreement”
Click Next
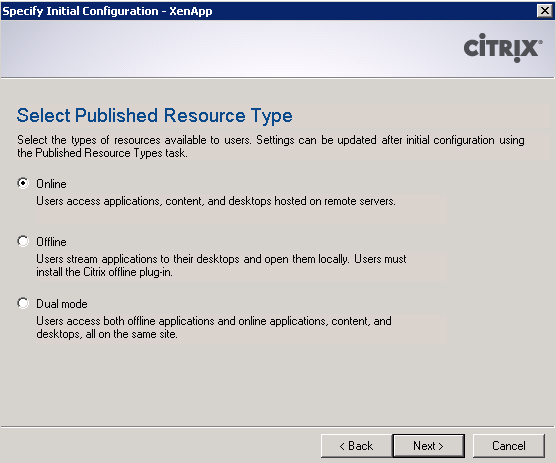
Choose Roles, As we have one server in Workgroup will be
installing all the important roles on same servers.
Will be installing License server Role, XenApp Role and
Web interface role on this server.
Click Next
Select XenApp
Management Console.
Select Windows Desktop Experience integration
Select XML Service IIS integration
Click Next
Click on Install
Click on Finish .
Click on Reboot
Once the server is UP click on Resume Install.
Click on Install
Click on Finish
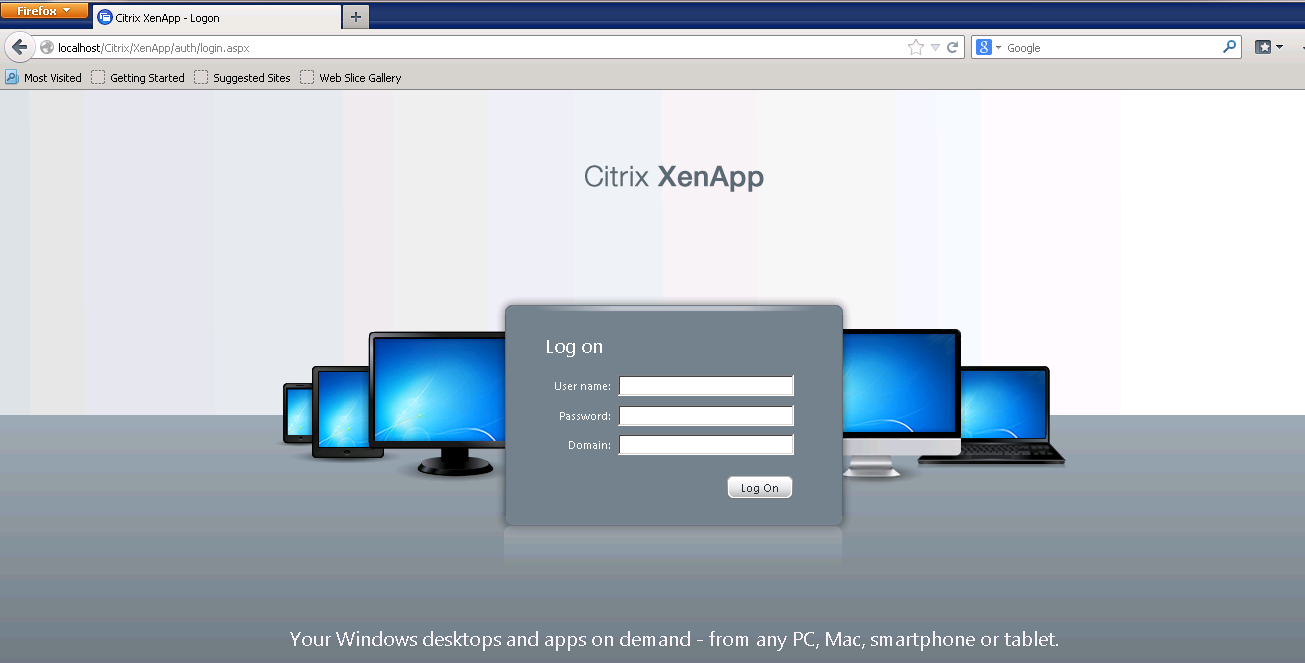
Click on “Configure”, under “Web Interface” section and
it will Open Citrix Web Interface Management console.
Select “XenApp Web
Site” and click on Create Site.
Check on “ Set as
default page for the IIS site” and click on Next
Specify point of Authentication, I will be going with
default i.e. “ At Web Interface” and click on Next
Click on Next
Now Configure your Website and click on
Next
Under Farm Name field enter Farn Name ,
like I have entered “CTXSERVER”.
Click on Add and mention the XML server
name , I this case we have installed IIS and XML on same server , so I
mentioned “localhost” , you can also mention IP address or hostname.
IIS and XML will be sharing the same
port 80.
Click Next.
Specify Authentication Method , default is Explicit , I will be going with
default option.
Click on Next.
If these is some domain restriction ,mention it here or go with default like
“Allow any Domains”
Click on Next
Click on Next
Click on Next.
Click on Finish.
Close Console.
Web Interface is Configured now .
Click on “Configure” under “License
Server”.
Enter password and confirm password .
Click OK
Click on “Specify Licensing” under
Xenapp and mention the License server Name , in this cas e we have installed
License server role on same server , so I mention “localhost”.
Default License server port is 27000,
keep it as its is .
Click on “Test Connection”.
Click on Close and then click on Next.
As we haven’t installed any license , so
getting below mention error message .
Click on continue.
Choose the License Model, in this case will download XenApp License
so I select XenApp .
Click on Apply.
As we haven’t installed any License , getting below
mention error message.
Click on Continue.
Click on configure under XenApp.
Click on Create a new server farm.
Enter Farm Name under New XenApp Server Farm Name , Like
I have mention CTXSERVER.
First Citrix administrator account will be same as local admin of server.
Click on Next.
Select New Database and click on Next
Enter Local Admin Credentials , click Ok
Click Next
Configure Shadowing , keep it like default and click Next
Keep All the option as default.
Click on Next
Click on Apply.
Click on Finish
Click on Reboot, under “Xenapp”
Once the server is UP after Reboot , click on close.
Open and configure App Center for First time.
Open App Center
Click on Next
Unchecked “Single Sign-On” , as we haven’t installed
“Single sign-On”
Click Next
Click on Add Local Computer
Click on Next
Click Next
Click Finish
Steps
to Publish application.
In this case we will publish Notepad application and
provide access to all users.
Open Citrix App Center.
Right click Applications and click on Publish
Application.
Click Next
Enter Display Name
i.e. Notepad
Display Application Description i.e. Notepad
Click on Next.
Choose type of application to publish, publishing app so
select “Application”
Application installed on this server , select “ Accessed from a Server”
Click Next
Enter the Location of the application.
Click on Add , Either select servers or Worker Groups.
For this POC , we haven’t created any worker Groups, so
select Server.
Select Server and click on Add.
Click on OK
Click on Next
Under Users section , Click on Add
Select Server, double click
Select Users.
Click on ADD
Click Ok
Click Next
Default application Icon
Click Next
Click on Finish.